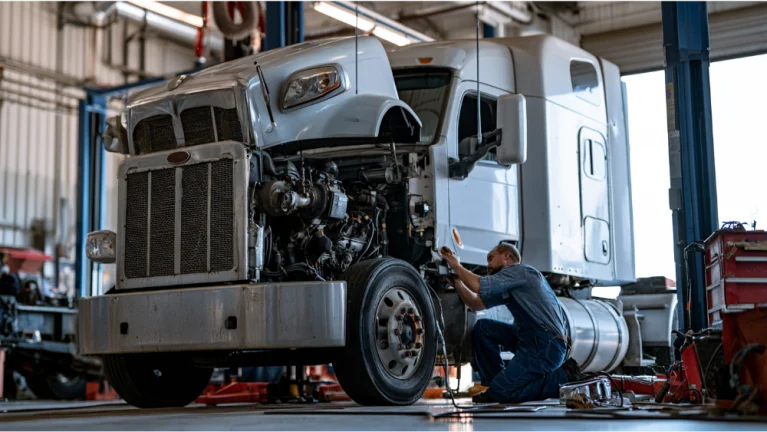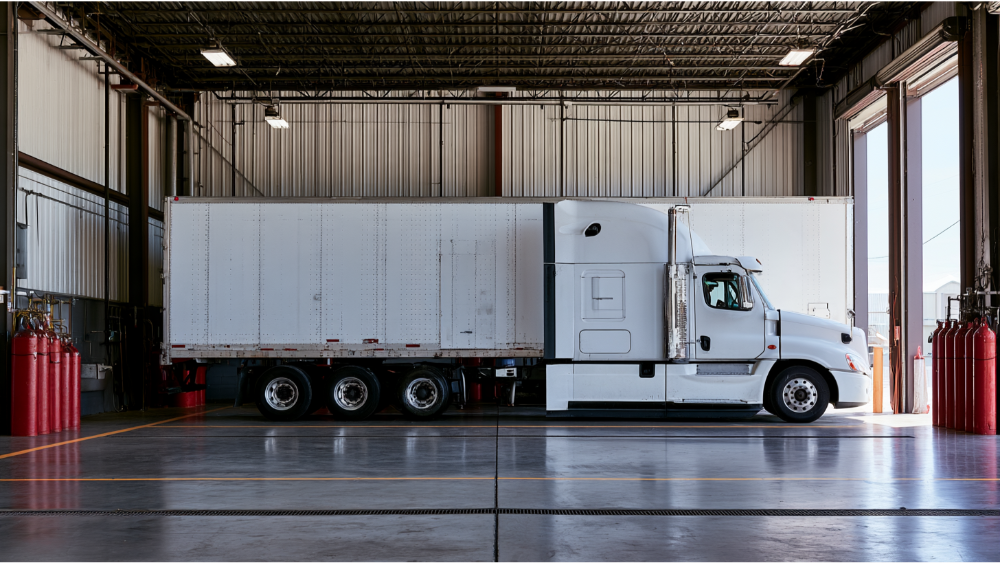
Key Takeaway
An air brake pre-trip inspection requires a two-part check: a physical walk-around of compressor, reservoirs, chambers, and friction material, followed by in-cab tests confirming pressure builds to 120-140 PSI, the low air warning activates before 60 PSI, and air loss stays under 4 PSI per minute on a combination vehicle with brakes applied. If any test fails, the truck does not move. Run this check every day before driving.
An air brake pre-trip inspection is two things done in sequence: an outside check of the compressor, reservoirs, hoses, chambers, slack adjusters, and friction material, followed by in-cab tests of air buildup, leakage, the low air warning, spring brake activation, parking brake hold, and service brake response. If a warning device doesn’t activate, the brakes don’t hold, or air loss exceeds the applicable limit (no more than 4 PSI in one minute on a combination vehicle with brakes applied), the truck does not move.
This is written for owner operators, fleet drivers, and CDL candidates who want the actual check, the PSI benchmarks, and the no-go calls. A pre trip is not a speech for an examiner. It’s the last verified chance to catch a defect before the truck is loaded and rolling.
What an air brake pre-trip inspection has to prove

Strip away the test script and the inspection has to answer five questions. A complete check ends with a decision: roll or don’t.
- Does the air brake system build and hold pressure, reaching normal operating levels (commonly 120 to 140 PSI) and recovering after use?
- Do the warning and emergency functions activate? The low air warning has to give an early alert on a pressure drop, and the spring brakes have to set themselves.
- Do the parking brakes hold and the service brakes stop the vehicle straight and on time?
- Are the visible components secure, intact, properly adjusted, and free of leaks and contamination?
- Did anything fail? If so, the truck stays put.
Daily pre trip inspection vs the CDL air brake test: what’s the difference?
Three different authorities govern this topic, and most confusion online comes from mixing them up.
The federal rule: the driver must be satisfied the truck is safe
Under 49 CFR 392.7, a commercial motor vehicle can’t be driven unless the driver is satisfied the service brakes, trailer brake connections, parking brake, coupling devices, wheels, and tires are in good working order. 49 CFR 396.13 adds the duty to review the last driver vehicle inspection report when one is required. Neither rule prescribes a word-for-word script or a minimum number of minutes, and neither one lets a commercial driver skip the check because the truck ran fine yesterday.
The CDL test: follow your current state manual
FMCSA directs applicants to their own state CDL manual because each state writes its own testing material. The skills test order varies, items are called out in a specific order, and many of them have to be spoken aloud for the examiner. Don’t treat any online checklist, including this one, as your test-day script.
Entry level driver training sets the theory, not the script
Entry level driver training covers the systems and the why. The CDL exam scores you on your state’s version of the walk-around. Hands on practice with the actual truck beats memorizing a list, because an examiner can tell the difference between a driver inspecting a chamber and a driver reciting one.
Class B units run the same air brake checks
A Class B straight truck or box truck with air brakes goes through the same inspection process, minus the trailer and combination steps. Leakage limits for a single vehicle are tighter than for a combination, so don’t borrow the combination numbers.
The manufacturer spec always controls the number
Governor cut-out, warning activation, and spring brake pop-out are set by the vehicle manufacturer. That’s why published thresholds differ page to page. Where a manufacturer spec exists, it wins.
Before you start: setting up a safe air brake inspection

- Park on level ground with the gear shifter in neutral and the transmission secured.
- Chock the wheels when you’ll be releasing the parking brakes. Chocks are safety equipment, not a formality.
- Confirm the trailer is properly coupled and the air lines are connected and locked.
- Know whether you’re inspecting a single vehicle or a combination vehicle. The leakage limits change.
- Do the rest of the walk-around while you’re out there: fluid levels at the sight glass or dipstick, lights, tires, and mud flaps secure at the rear.
- Never get under a unit that isn’t secured.
Setup determines whether your readings mean anything. A test run on a truck that’s half-coupled tells you nothing useful.
Outside walk-around: inspecting the air brake system
Air compressor and drive
Check the belt or gear drive for tension and damage, and look at the mounting and lines for oil weeping. A compressor pushing oil downstream shows up later as contaminated reservoirs and slow buildup.
Air reservoirs and drain valves
Drain the tanks and watch what comes out. Water or oil at the drain points to an air dryer that isn’t doing its job, and it’s a common cause of slow recovery and frozen valves in cold weather.
Air lines, hoses, glad hands, and couplers
Federal rules require hoses to handle normal movement, stay clear of chafing and kinks, and stay away from heat sources, with connections free of leaks. Look at the rub points first: where lines cross frame rails, pass near the exhaust, or loop behind the cab. Cracked glad hand seals and an audible leak are no-go conditions.
Brake chambers and mounting
Chambers need to be securely mounted with clamps intact and no dents, rust-through, or air escaping at the clamp band. A chamber hanging on loose hardware is a defect, not a maintenance note.
Slack adjusters, push rods, and adjustment indicators
Pull on an accessible slack adjuster with the brakes released. The model CDL manual says roughly one inch of movement probably needs attention, but understand what that is: a screening check, not the legal limit. Actual push rod stroke limits depend on chamber type and size, and for actuators not listed in 49 CFR 393.47 the limit is 80% of marked rated stroke or the manufacturer’s marked readjustment limit. Air-braked CMVs built on or after October 20, 1994 generally require automatic adjusters, and repeatedly manually readjusting one masks a mechanical failure instead of fixing it.
Drums, rotors, linings, and pads
Federal minimums under 393.47: 3/16 inch for a steering-axle air drum brake with a continuous lining strip, 1/4 inch for a steering-axle drum with two pads, 1/8 inch for air disc on either axle position, and 1/4 inch for non-steering drum brakes (or not worn to the wear indicator). Drum and rotor thickness can’t fall below the manufacturer’s limit. Those are legal floors, not replacement targets. Oil or grease on the friction surface is a defect regardless of thickness.
ABS lamps, wiring, and sensors
Trace the sensor wiring near the axles where it gets snagged, pinched, or abraded. A chewed-up sensor lead is usually what’s behind a lamp that stays lit.
Trailer air supply, tractor protection, and combination connections
Verify the trailer supply valve seats and holds, the tractor protection function works, and the lines aren’t crossed or dragging. Trailer brakes have to be functioning properly from the cab, not just in theory.
In-cab air brake test: the working sequence
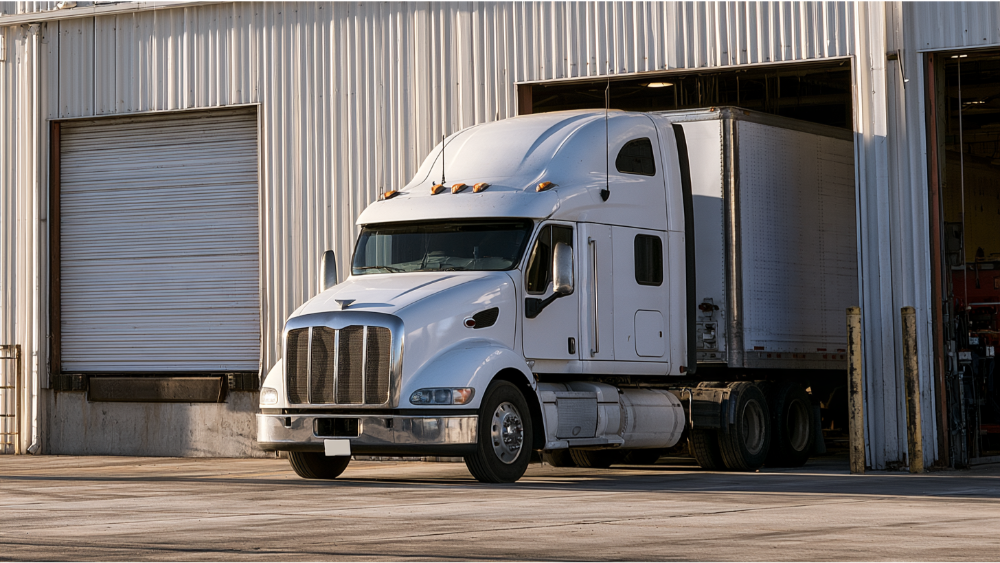
CDL candidates follow their state manual’s order for the in-cab inspection. This is the order that works on a loaded truck.
Step 1: Check the air gauges and ABS light with the key on
Key on, engine off. Read both needles, primary gauge and secondary. The tractor and trailer ABS light should illuminate and then go out. A light that stays on is a fault, not a bulb check. While you’re in the seat, sound the air horn and the city horn, and confirm the truck only cranks in neutral on the safety start check.
Step 2: Build air pressure to governor cut-out
On a dual system, air pressure should build from 85 to 100 PSI within about 45 seconds with the engine running at operating RPM, subject to manufacturer spec and reservoir size. Cut-out commonly lands between 120 and 140 PSI.
Step 3: Verify governor cut-in and cut-out
Fan the pressure down with the brake pedal. The air governor should cut the compressor back in around 100 PSI and cut out again at spec.
Step 4: Static air leakage test (brakes released)
Engine off, key on, brakes released. Over one minute, loss should stay under 2 PSI on a single vehicle and under 3 PSI on a combination.
Step 5: Applied air leakage test (brakes applied)
Now make a full service brake application and hold it. Over one minute, loss should not exceed 3 PSI on a single vehicle or 4 PSI on a combination. Brakes released is static. Brakes applied is applied. Plenty of guides swap those two.
Step 6: Test the low air warning light and buzzer
Continue fanning the pressure down. The warning light and buzzer should activate before air pressure falls below 60 PSI, or at the manufacturer’s specified level.
Step 7: Verify spring brake and tractor protection pop-out
Keep bleeding air down. The parking brake and tractor protection valves should pop out on their own at the manufacturer’s spec, commonly somewhere in the 20 to 45 PSI range.
Step 8: Rebuild to full operating pressure
Start the engine, build back to governor cut-out, and watch the recovery rate while you do it.
Step 9: Tug test the tractor and trailer parking brakes
Set the parking brakes and gently try to pull against them in low gear. Then set the trailer brakes alone and repeat. Anything that moves fails.
Step 10: Service brake response test at about 5 mph
Roll forward at roughly 5 mph and apply the brake pedal firmly. Watch for pulling to one side, delayed response, grabbing, or a pedal that feels wrong.
Air brake PSI reference table
| Check | Common benchmark | Qualification |
|---|---|---|
| Static leakage (brakes released) | Under 2 PSI/min single, 3 PSI/min combination | FMCSA model CDL manual benchmark |
| Applied leakage (brakes applied) | Max 3 PSI/min single, 4 PSI/min combination | Measured over one full minute |
| Air buildup | 85 to 100 PSI in 45 seconds | Dual system at operating RPM; larger reservoirs may differ per manufacturer |
| Governor cut-in | About 100 PSI | Manufacturer spec controls |
| Governor cut-out | About 120 to 140 PSI | Manufacturer spec controls |
| Low air warning | Before falling below 60 PSI | 49 CFR 393.51 fallback for certain units not subject to FMVSS 121: 55 PSI and below, or half cut-out, whichever is less |
| Spring brake activation | 20 to 45 PSI | Per manufacturer specification |
| Service brake test | About 5 mph | Check for pulling, delay, or grabbing |
Do not drive if any of these checks fail

- Pressure won’t build or won’t recover after application.
- Air loss exceeds the applicable limit.
- The low air warning light or buzzer doesn’t activate.
- Spring brakes or protection valves don’t pop out as specified.
- A parking brake won’t hold on the tug test.
- Service brakes pull, delay, grab, or stop late.
- There’s an audible leak anywhere in the system.
- A hose is chafed, kinked, leaking, or touching a heat source.
- Friction material is contaminated or below the legal minimum.
- Push rod travel is excessive or visibly unequal side to side.
- A required ABS lamp stays illuminated.
A truck that fails here does not become safe by running it to the next stop.
What a failed air brake test usually means
Excessive air loss: static or applied leakage
Released-brake loss usually points at supply-side fittings, reservoirs, or valve seats. Loss only under application points downstream at chambers, relay valves, or the service line.
Slow buildup or frequent compressor cycling
Often an air dryer saturated with water or oil, a restricted line, or a compressor losing output. Short-cycling means the system is losing air somewhere you haven’t found yet.
Governor cutting in or out off spec
Usually the governor itself or its signal line, but verify the manufacturer’s spec before condemning anything.
Low air warning or pop-out valve failure
Could be the switch, the wiring, or the valve. These systems are not optional equipment, and they don’t get deferred.
Pulling during the service brake test or repeat slack adjuster problems
Uneven application, a sticking chamber, contaminated linings, or a foundation brake issue. An automatic slack adjuster that keeps going out of adjustment has a mechanical cause, and readjusting it again just hides it.
The test identifies a symptom. A structured diagnosis identifies the failed component. Guessing at parts is how owner operators end up paying for three repairs to fix one problem.
How to document a pre trip inspection defect
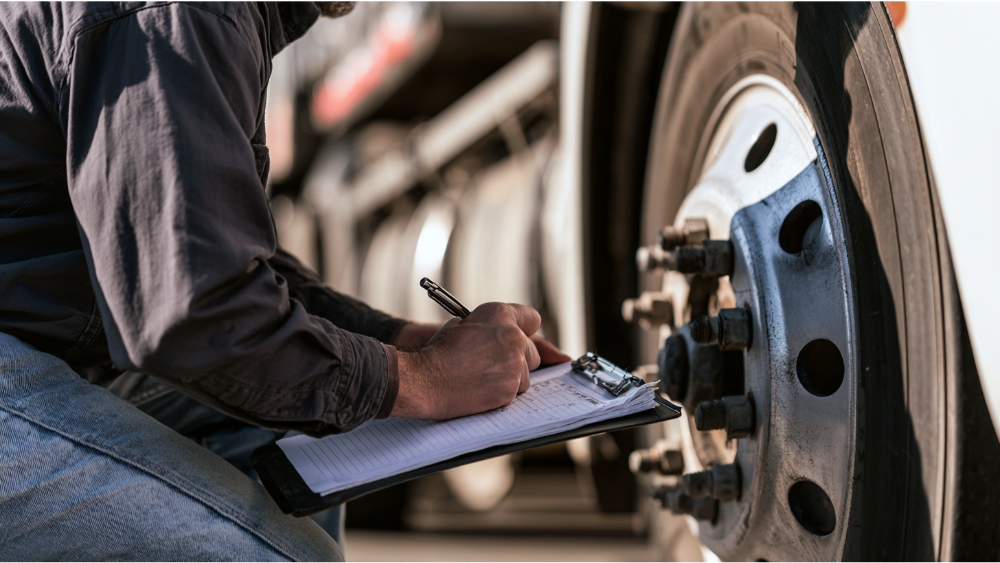
A property-carrying driver generally does not have to create a no-defect DVIR. The duty under 392.7 and 396.13 is to be satisfied the vehicle is safe. But once a defect likely to affect safe operation is reported, 396.11 requires the carrier to repair it and certify the repair (or certify it wasn’t needed) before the unit runs. DVIRs and repair certifications are generally kept three months; maintenance records under 396.3 are generally kept one year.
Owner operators: one or two trucks
Write down the unit number, the actual PSI readings you measured, and the specific defect. “Brakes” is not a defect report. “Applied leakage 7 PSI/min, combination” is.
Fleets: defect to dispatch hold to repair order to certification
Tie each defect report to a dispatch hold, a repair order, and a signed repair certification. Then trend-track recurring defects by unit and configuration. That’s what turns Preventive Maintenance PM Service into real DOT compliance documentation instead of a stack of paper.
Why a pre trip does not replace Preventive Maintenance PM Service
A driver check is visual and functional. A technician measures push rod stroke against the chamber’s rated spec, measures lining and drum or rotor thickness, pressure-tests the system, and inspects components a driver can’t safely reach. Scheduled brake inspections catch wear trends weeks before they turn into a roadside out-of-service. That’s the split between a daily walk-around and real Truck And Trailer Brake Repair work on a PM schedule.
Brake violations are still the top out-of-service finding
During the 2026 International Roadcheck, CVSA inspectors recorded 3,379 brake-system out-of-service violations, 24.3% of all vehicle OOS violations. Add the separate “20% defective brakes” criterion (triggered when 20% or more of the brakes in the vehicle or combination are defective) and brake findings hit 5,451 violations, 39.1% of the total. On the unannounced 2026 Brake Safety Day, 4,021 vehicles were inspected and 574 (14.3%) were placed out of service, including 40 that failed an air-loss-rate test.
Frequently Asked Questions
What are the 7 steps of a pre-trip inspection?
There is no single federal seven-step script. Most state manuals group the air brake portion into a sequence: build pressure, check the governor, static leak test, applied leak test, low air warning, spring brake pop-out, then parking and service brake tests. Follow your state manual for test day.
Is it mandatory to do a pre-trip inspection?
In effect, yes. 49 CFR 392.7 and 396.13 require the driver to be satisfied the vehicle is in safe operating condition before driving. A written no-defect report is not always required, but the inspection duty is.
How often should air brakes be inspected?
Visually and functionally every day before driving. Measured and serviced by a technician on a PM schedule, more often on high-mileage runs or heavy-grade operations where friction material and adjustment move fast.
How to pass a CDL pre trip inspection?
Use your current state manual’s order and wording, know your PSI benchmarks cold, actually inspect the component instead of reciting from memory, and call out defects you find rather than skipping past them.
Brakes failed the pre-trip? Get it diagnosed, not guessed at.
Torpedo Truck Repair was built from inside real trucking operations, and we handle Truck And Trailer Brake Repair across Class 6 through 8 trucks and trailers with certified technicians and OEM diagnostic software. You get a full itemized estimate before a single bolt is turned. No upsell, no surprises, same-day service focus when possible. Call (253) 449-0100 for 24/7 emergency dispatch, or Request Service Quote online (takes under 60 seconds, no obligation). Shop hours are Mon through Fri, 8:00 AM to 5:30 PM.